The One Thing That Keeps our Homeschool Super Simple
Jenny Hedrick
The Need to Simplify
Each new year of homeschooling brings with it the excitement of newness, the promise of things to come, aaaaand... the feeling of being overwhelmed by all the different options, methods, and resources for homeschoolers.
Each year, I find myself needing to simplify more and more. This journey to simplify led me to notebooking. Notebooking is not a homeschooling method itself but is a compliment to whichever homeschool method you are already using. It works well if you use textbooks, library books, websites, or YouTube for the content of your learning. Notebooking helps us keep things super simple in our homeschool.
When I find a curriculum I like, I skip the workbook and use notebooking instead. If we watch a docuseries like "The Toys That Built America", we use notebooking to outline what we learned. If we learn about physics from Mark Rober on YouTube, we create a notebook page about it. This frees us from the confines of curriculum and opens up many more opportunities for learning.
What is Notebooking Anyway?
Notebooking is a fun and effective way to track your homeschool student's progress. It is a strategy to remember what was learned, a way to combine creativity with learning, and is compatible with all methods of homeschooling and all ages.
Think of notebooking more like scrapbooking. This can be done with pens, markers, drawings, and stickers. It can also be completely digital using graphics, online images, or your own photos. It is fully customizable and works with kids of all ages! Notebooking replaces worksheets and other busy work with narrations, summaries, and highlights. Students create notebook pages with visual cues and written reminders of the content they have learned.
Why Should I Use Notebooking?
Notebooking reduces boredom with worksheets and busy work. Homeschool students take ownership of their learning. It's a great tool for recall and to keep a record of homeschool learning activities. It is compatible with all curricula and homeschool methods. You can even do it with multiple kids at the same time! And at the end of the year, you have a beautiful portfolio of your student's work.
It doesn't matter which curriculum you use or what your preferred method is. Notebooking works with any style! It is also very easy to adapt for different ages and learning abilities. Notebooking is great for kids with learning challenges like dyslexia and ADHD!
How to Implement Notebooking in Your Homeschool
Step 1: Read. Or watch something. Use your curriculum textbook or a library book. This is the content of your learning.
Step 2: Narrate or summarize what you learned. Be sure each kid participates in this.
Step 3: Start the notebook page. Ask "What do you want to remember about this?" Have them write or type it on their page. Younger students can dictate their summaries to you and you can write for them.
Step 4: Get creative! Add related images, drawings, stickers, and pictures. This can be done physically or digitally.
Step 5: Store it! If your notebook is 100% digital, you can keep these files on the computer. Otherwise, a homeschool notebook is great for notebooking! You can also use a binder to hold individual notebook pages.
Step 6: Share it! Cement their learning by having them share their notebook 1-2x a week with a family member or friend. This is a great chance to practice their speaking skills and I am always amazed at how much of the content they can recall.
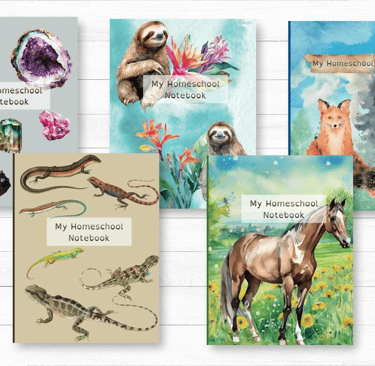
Check out our
Collection of Unique Homeschool Notebooks!
A Note on Ability and Age
The written portion of the page can be completed at the child's ability level. For younger kids, parents can write for them as they dictate. Older kids can complete this part for copywork practice, handwriting, or typing practice. Even high schoolers can use notebooking to create a portfolio of their learning. YOU set the expectation for your kids!
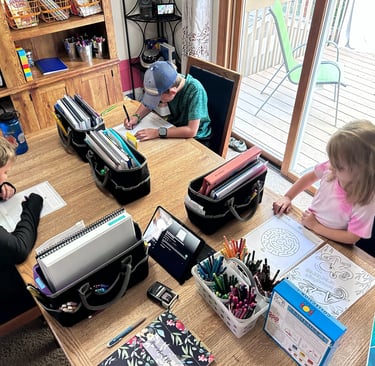
My kids currently range from 5th grade to kindergarten. We do not separate into grade-level curricula. Instead, we all learn from the same content (a book, video, or textbook) and each child creates their notebook page according to their ability. This keeps our homeschooling super simple.
A Note on Creativity
Some kids will get really into drawing and coloring their pages, others will not. It's okay to print images and paste them to pages or create a page using a template to print out or have your student type in their content. Always do what works best for you and your kids!
Don't overdo it! You can choose how many pages to do each day based on their ability. Allow your students to take their time instead of feeling rushed or over the process. You don't need to do a notebook page for each subject each day. For some kids, one page per day is enough! Other kids may do multiple pages in a day.
Keep scrolling to see examples and a list of recommended supplies!
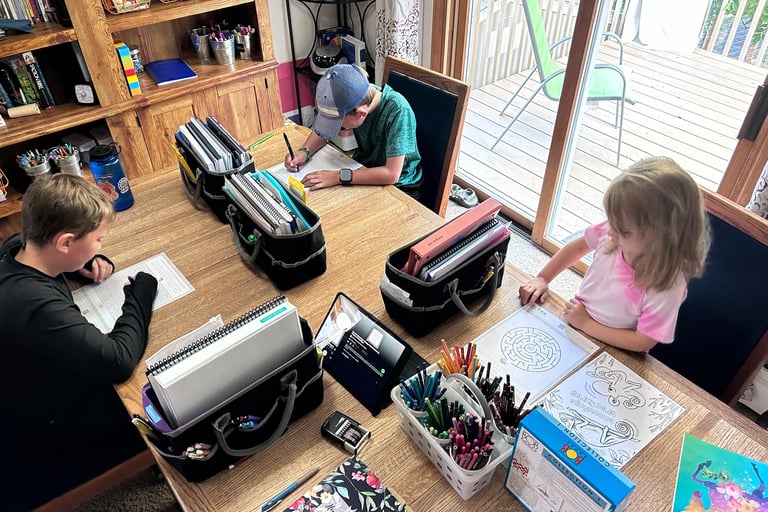

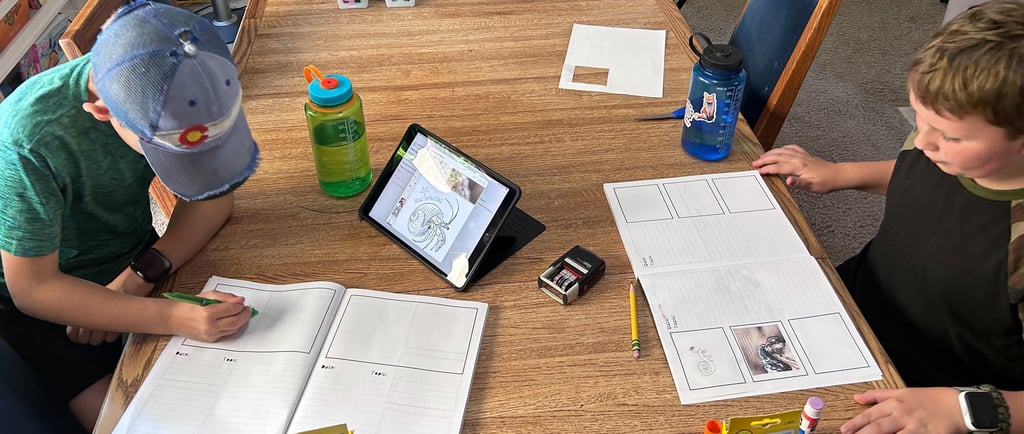
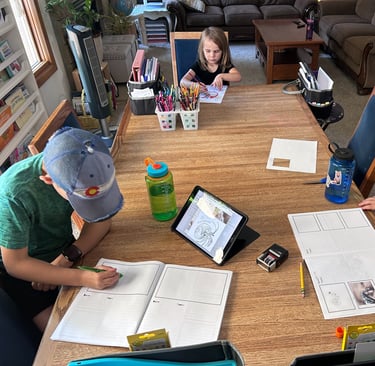
Examples of Notebooking Pages
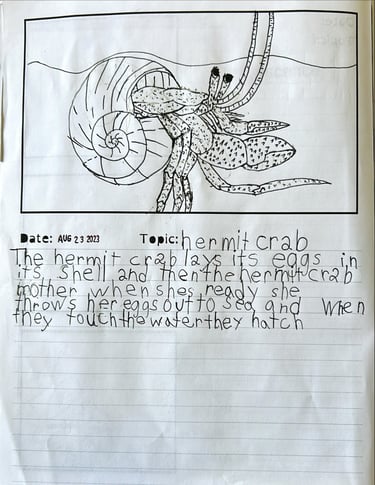
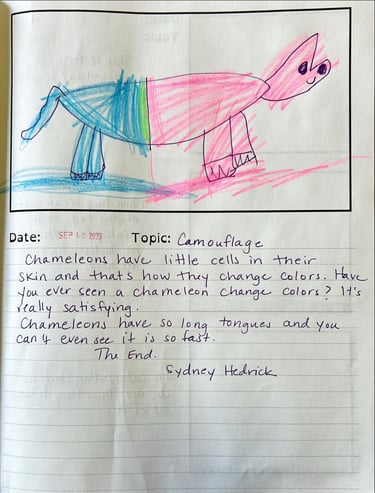
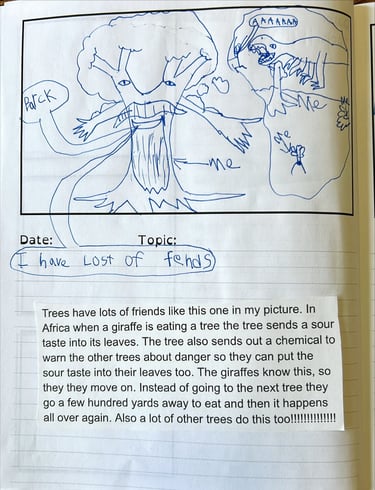
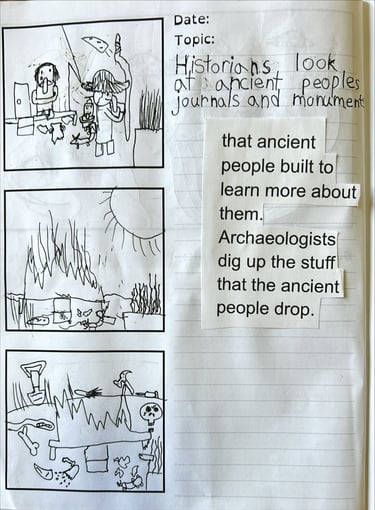
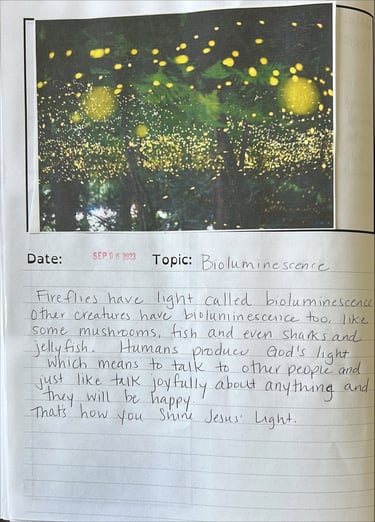
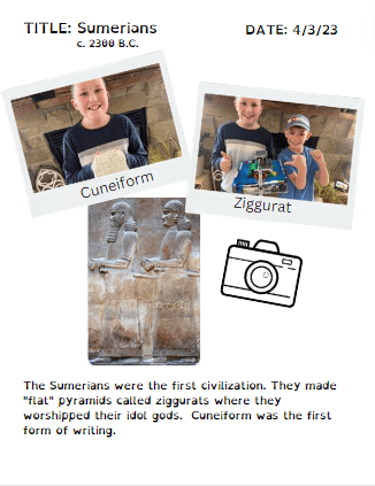

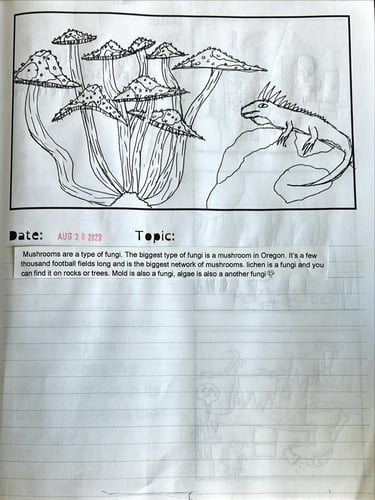
Here you can see a few examples of my kids' notebooking pages. You can see the different ways we accomodate their ages and abilities. For reference, my children are 11, 9, and 6 and they all have dyslexia.
What Supplies will I need?
Required Supplies:
A Homeschool Notebook, or
Binder and paper, or
Another way to store pages
A variety of writing utensils: erasable gel pens, markers, colored pencils
Optional Supplies:
Notebooking pages (available for FREE in our Digital Library!)
Canva templates for a digital notebook (available for FREE in our Digital Library!)
Stickers
Colored paper
Scissors and glue
A computer to look up images and a printer to print them
Binding machine to bind notebook pages together- we love the ProClick system as it allows you to add and remove pages.
Notebooking In Your Homeschool
So whether you love the structure of a homeschool textbook or prefer to let learning happen naturally (or somewhere in between), notebooking is a powerful tool to aid learning and keep homeschooling super simple.
This website contains affiliate links, which means I may earn a commission if you make a purchase through this site. Please note that I only recommend products that I personally use and believe will add value to my followers. Your support helps keep this content free.
Connect with us!